Installation
After having purchased and downloaded RewixSync plugin package you have to install it via Prestashop Modules and Services.
From the left sidebar of your shop in the administration panel, choose Modules and Services -> Modules and Services.
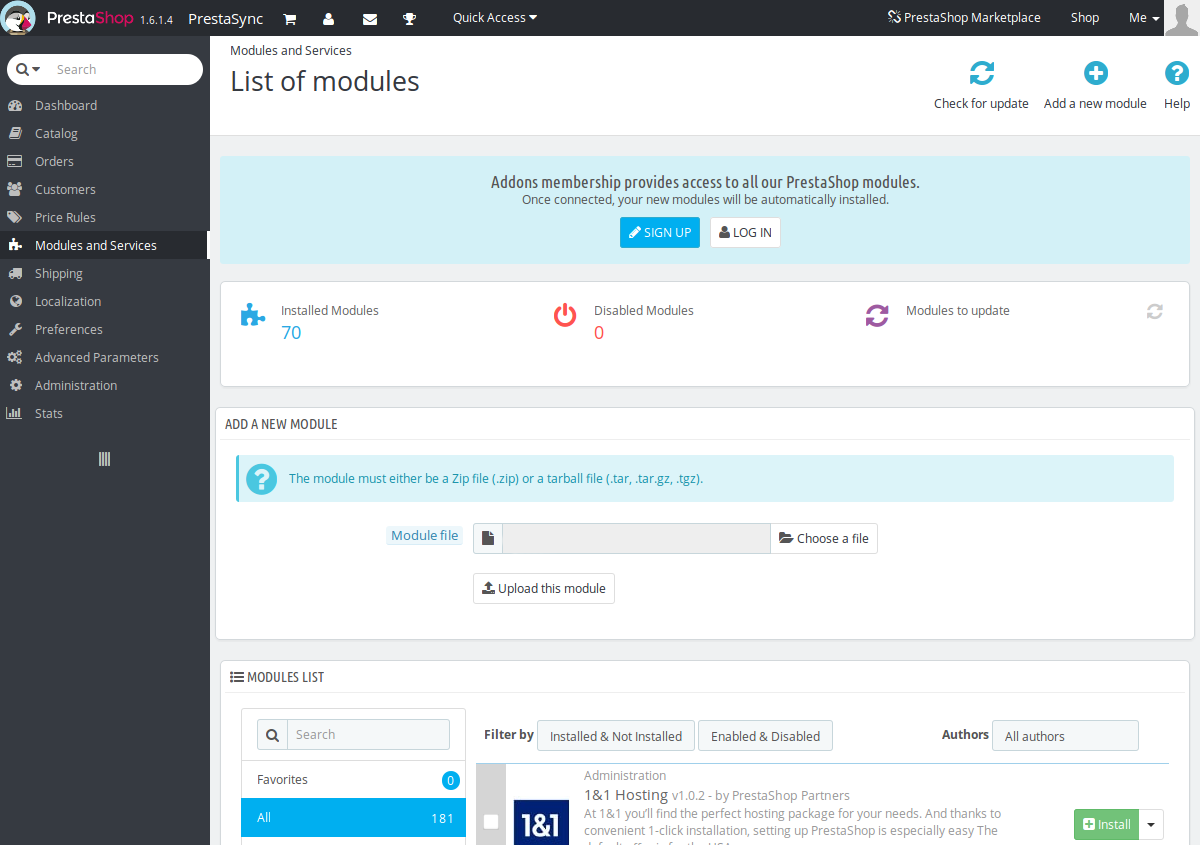
Press the button in the top right of the page Add a new module, a small section should
appear on the screen with the title Add a new module. Click on Choose a file e from
your file explorer select the .zip module file you've just purchased, eg.
RewixSync-0.1.0.zip. After selecting the file, press Upload this module.
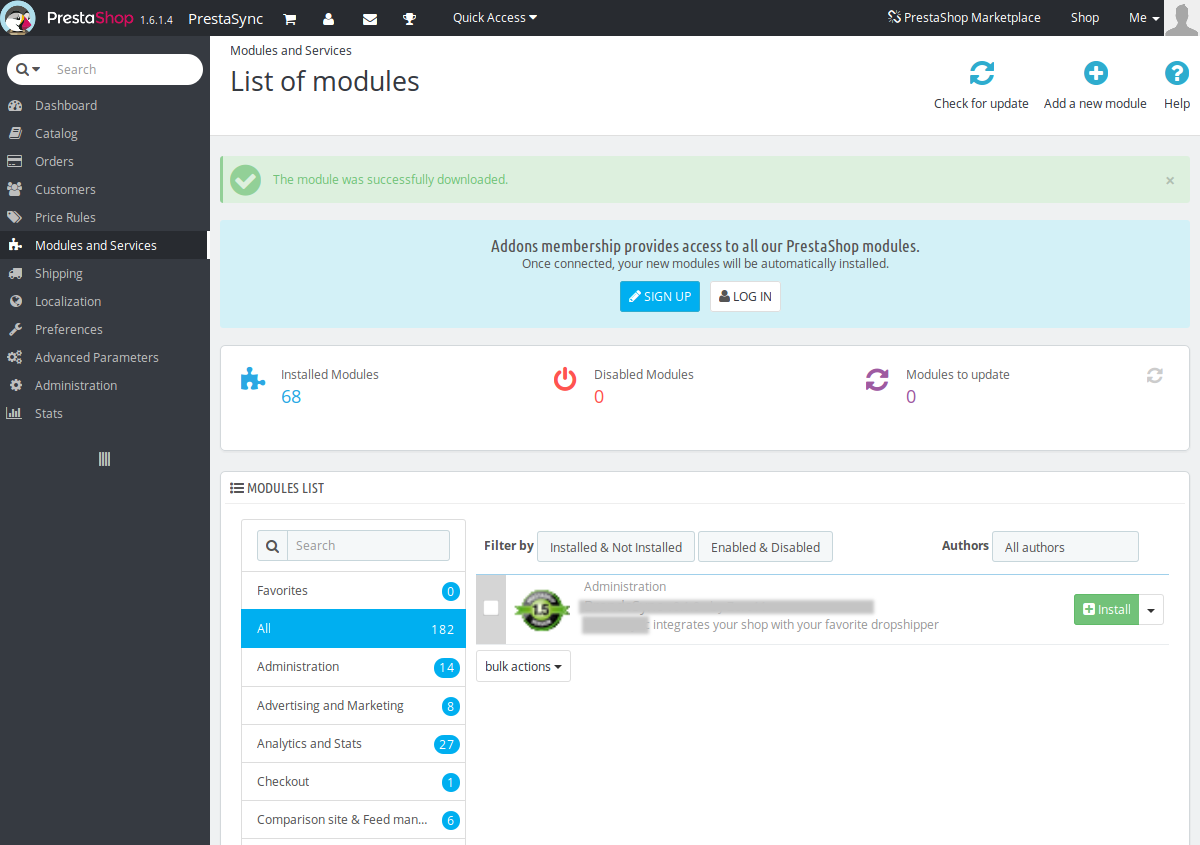
In the lower section of the page, under the section Modules List, for the module RewixSync press the green button Install.
A confirmation dialog should appear on the screen, like the one below:
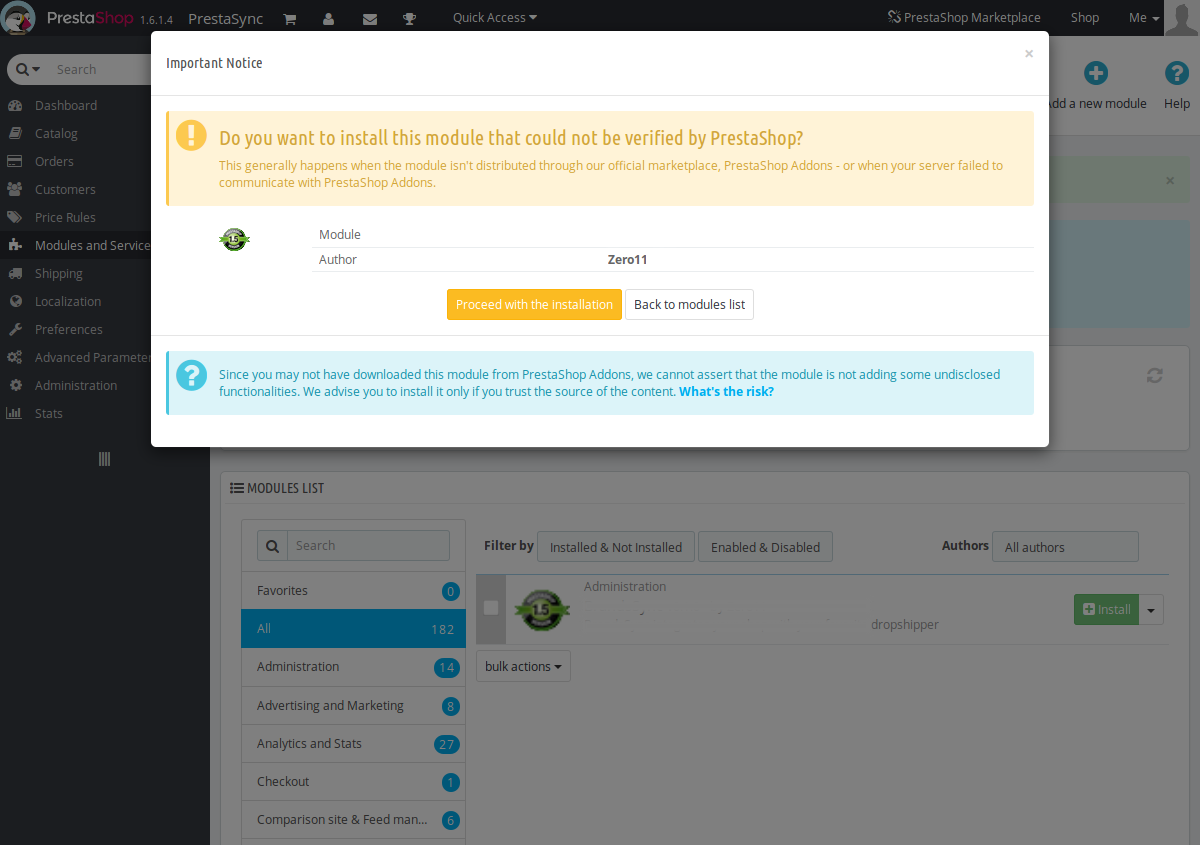
Press the yellow button Proceed with the installation.
If Prestashop redirects you to the module configuration page, you've correctly installed the RewixSync plugin.
If installation process succeeds, two new tabs should appear in the left sidebar, which are:
- RewixSync:
Updates
Note
DO NOT REMOVE the module when trying to start the update procedure. By removing the module you lost the synchronization of the currently imported products on your store.
Updates can be installed over the old version of the module. Without removing the previous
version, upload the latest .zip file you downloaded from our store in your Prestashop
store, using the same technique explained above.
Module removal
In case you want to remove RewixSync from your store, you have to manually delete all the imported products and categories. When you uninstall the module using Modules and Services, the synchronization between the dropshipment service and you store will be interrupted and won't be possible to restore it, unless you re-install the module and re-import all the products.